
#325 catsay TUI
Building the text UI catsay example from Practical Rust Projects, learning about making text UI programs with Rust.
Notes
The text-base user interface catsay example from Practical Rust Projects is used to demonstrate techniques for making text UI programs with Rust.
Building catsay
Start a new project:
$ cargo new --bin catsay
    Creating binary (application) `catsay` package
note: see more `Cargo.toml` keys and their definitions at https://doc.rust-lang.org/cargo/reference/manifest.html
$ cd catsay
$ cargo run
   Compiling catsay v0.1.0 (/Users/paulgallagher/MyGithub/tardate/LittleCodingKata/rust/catsay-tui/catsay)
    Finished `dev` profile [unoptimized + debuginfo] target(s) in 0.49s
     Running `target/debug/catsay`
Hello, world!
Step 1: setup the app framework with cursive
The example uses the Cursive crate. Cursive is a TUI (Text User Interface) library for rust. It uses the crossterm backend by default, but other backends are available.
Use the Cursive crate.
Add cursive = "0.11.2" to Cargo.toml, and update the code:
extern crate cursive;

use cursive::Cursive;

fn main() {
    let mut siv = Cursive::default();

    siv.run();
}
When invoked with cargo run, displays a simple blue screen.
Step 2: showing a dialog box
Seems I need to explicitly enable the cross term backend to get cursive to display anything. I want to use the multiplatform crossterm rather than ncurses used in the book (so I can easily run on macOS).
Update the cursive dependency and enable crossterm: cursive = { version = "0.21", features = ["crossterm-backend"] }.
extern crate cursive;

use cursive::views::TextView;

fn main() {
    let mut siv = cursive::crossterm();
    let cat_text = "{message}
\\
 \\
   /\\_/\\
  ( {eye}.{eye} )
   > ^ <";

    let cat_template = cat_text.replace("{message}", "Meow!");
    let cat_template = cat_template.replace("{eye}", "o");
    siv.add_layer(TextView::new(cat_template));

    siv.run();
}
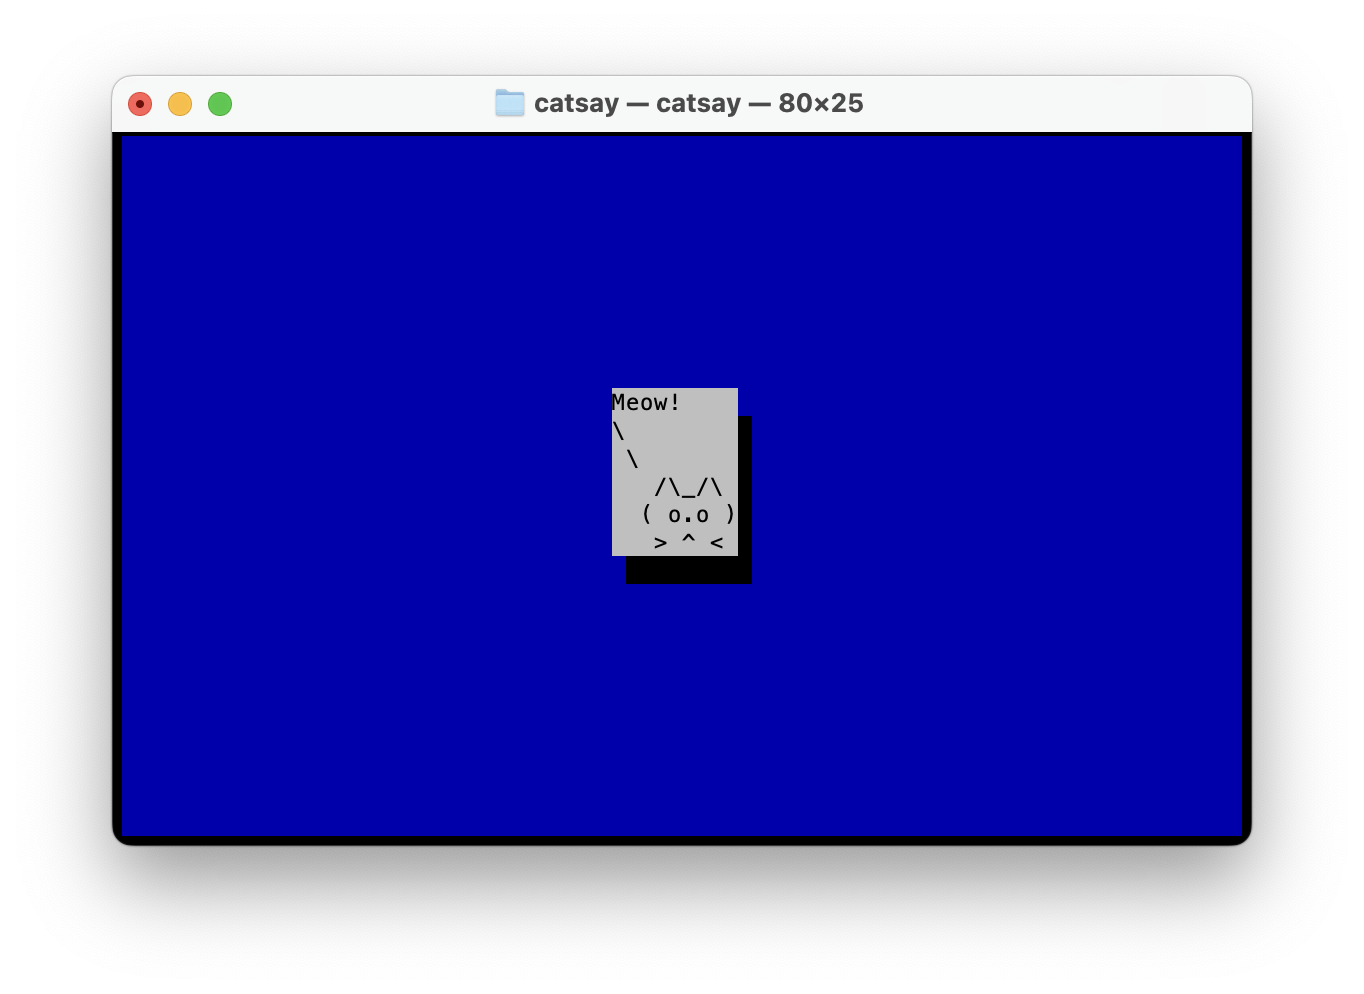
Working nicely with cargo run:
Step 3: handling simple keyboard inputs
Add a global callback to handle key events - in this case ESC key
use cursive::event::Key;
...
siv.add_global_callback(Key::Esc, |s| s.quit());
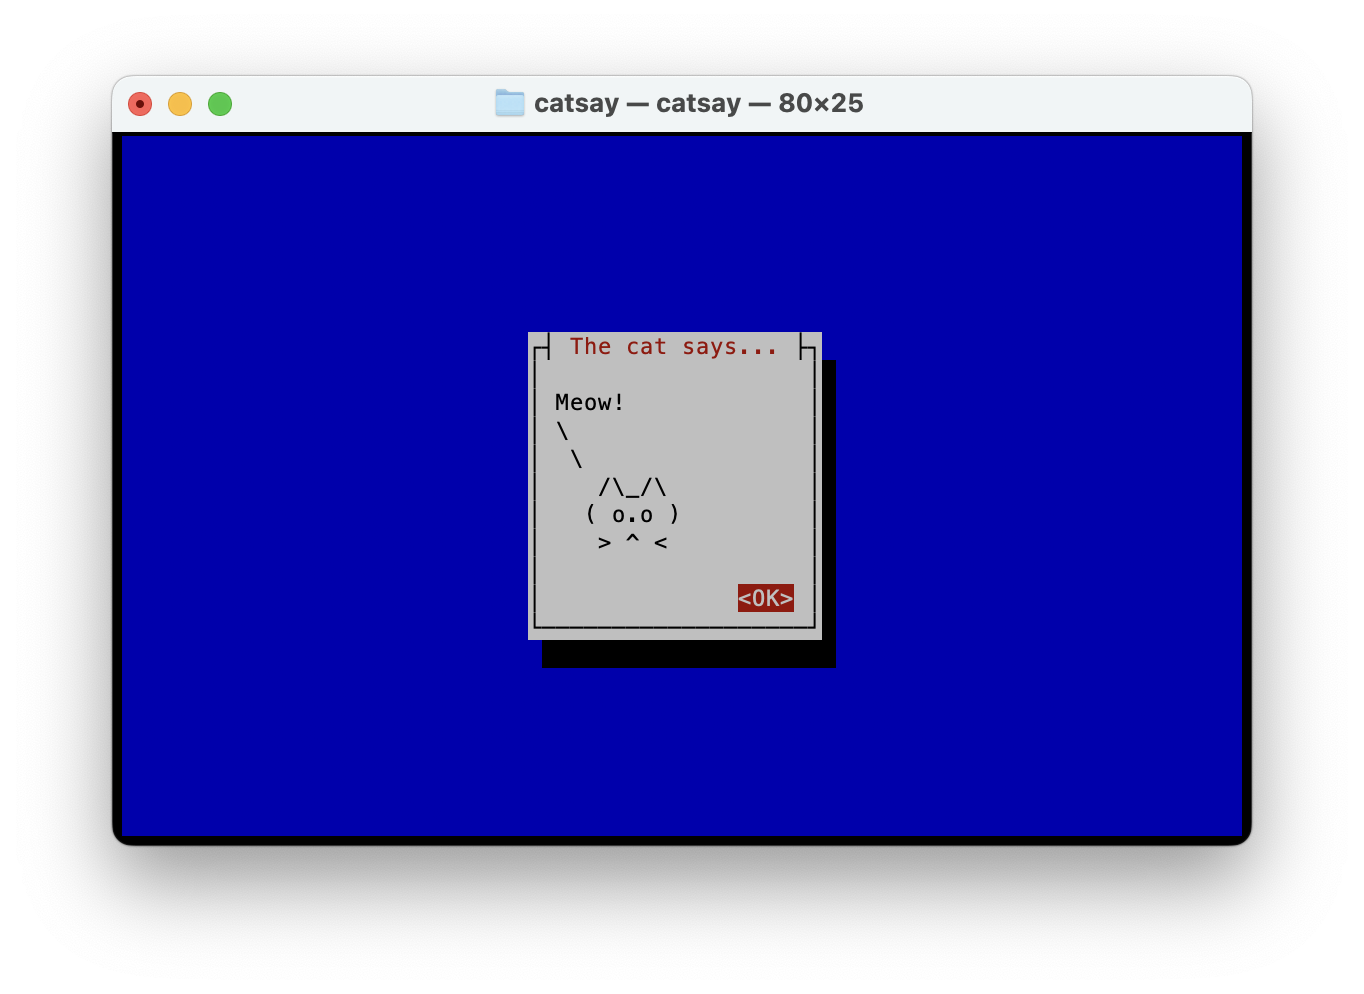
Step 4: adding a dialog box
Wrap the TextView with a Dialog box
use cursive::views::{Dialog, TextView};
...
siv.add_layer(
    Dialog::around(TextView::new(cat_template))
        .title("The cat says...")
        .button("OK", |s| s.quit())
);
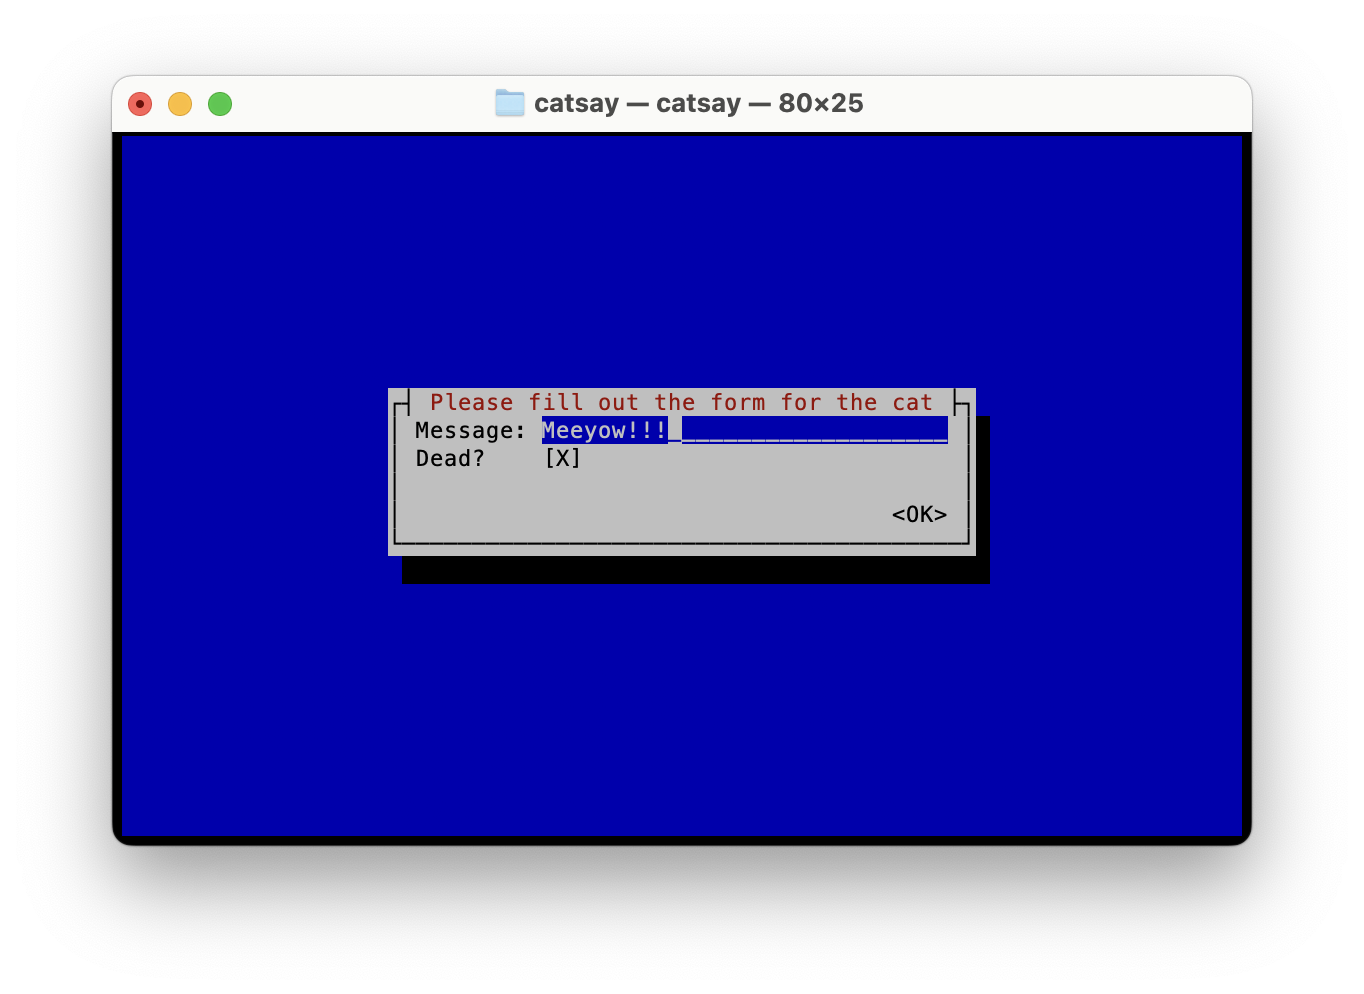
Step 5: multi-step dialog box
First dialog is to accept options for the cat, then show the cat accordingly.
extern crate cursive;
use cursive::traits::Nameable;
use cursive::views::{Checkbox, Dialog, EditView, ListView, TextView};
use cursive::event::Key;
use cursive::Cursive;
struct CatsayOptions<'a> {
message: &'a str,
dead: bool,
}
fn input_step(siv: &mut Cursive) {
siv.add_layer(
Dialog::new()
.title("Please fill out the form for the cat")
.content(
ListView::new()
.child("Message:", EditView::new().with_name("message"))
.child("Dead?", Checkbox::new().with_name("dead")),
)
.button("OK", |s| {
let message = s
.call_on_name("message", |t: &mut EditView| t.get_content())
.unwrap();
let is_dead = s
.call_on_name("dead", |t: &mut Checkbox| t.is_checked())
.unwrap();
let options = CatsayOptions {
message: &message,
dead: is_dead,
};
result_step(s, &options)
}),
);
}
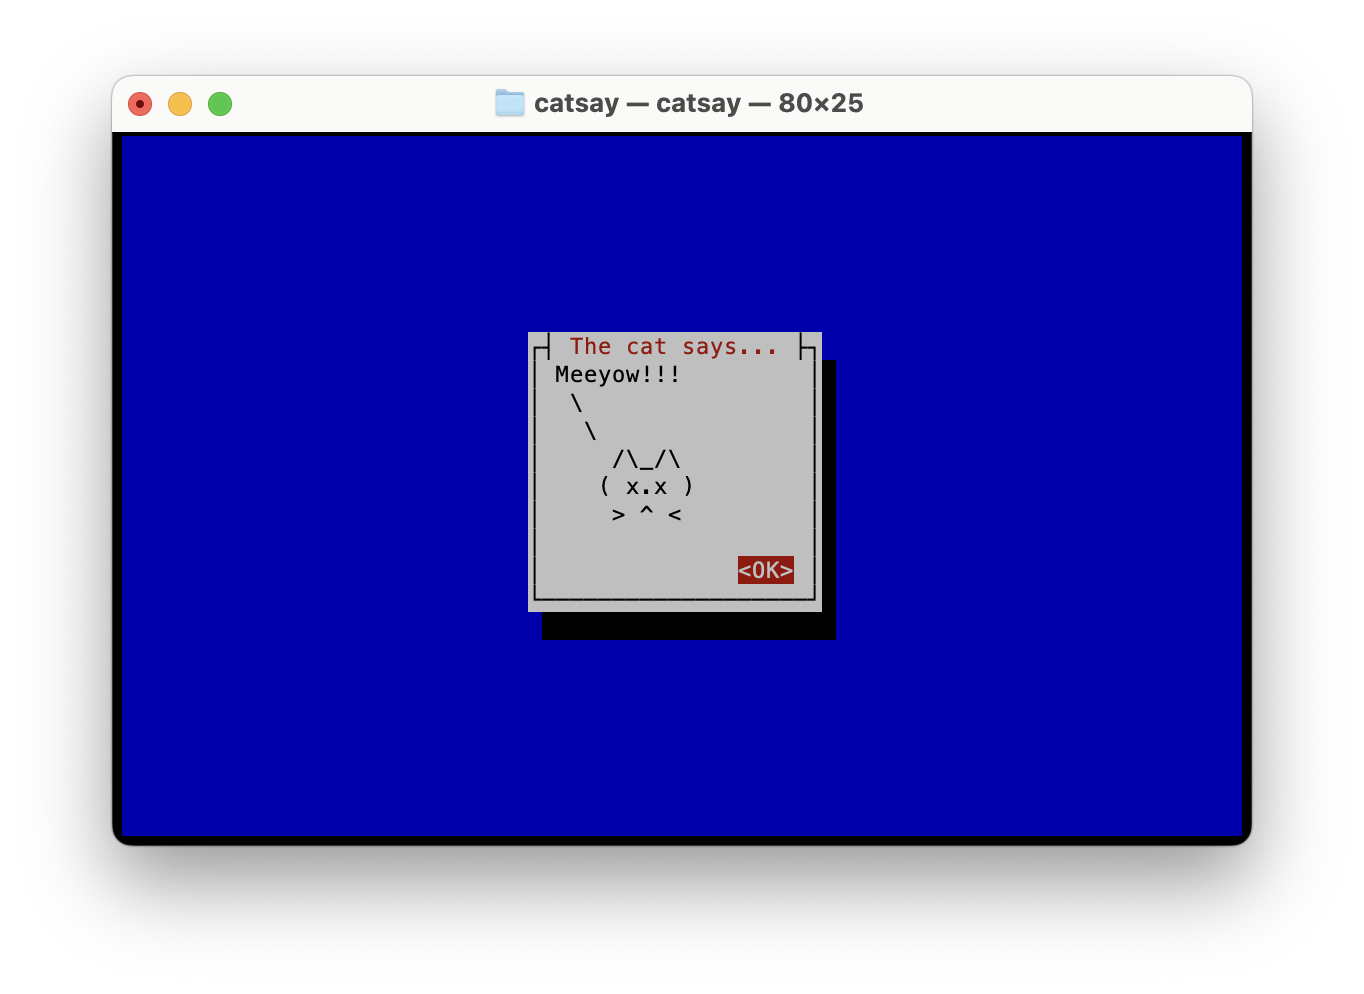
fn result_step(siv: &mut Cursive, options: &CatsayOptions) {
let eye = if options.dead { "x" } else { "o" };
let cat_text = format!(
"{message}
\\
\\
/\\_/\\
( {eye}.{eye} )
> ^ <",
message = options.message,
eye = eye
);
siv.pop_layer();
siv.add_layer(
Dialog::around(TextView::new(cat_text))
.title("The cat says...")
.button("OK", |s| s.quit()),
);
}
fn main() {
let mut siv = cursive::crossterm();
input_step(&mut siv);
siv.add_global_callback(Key::Esc, |s| s.quit()); // listen for ESC key and quit
siv.run();
}
now on cargo run there’s a two step interaction:
Note: code has been updated to use
Nameable trait instead of Identifiable.
These were changed as part of the Cursive “great renaming”.